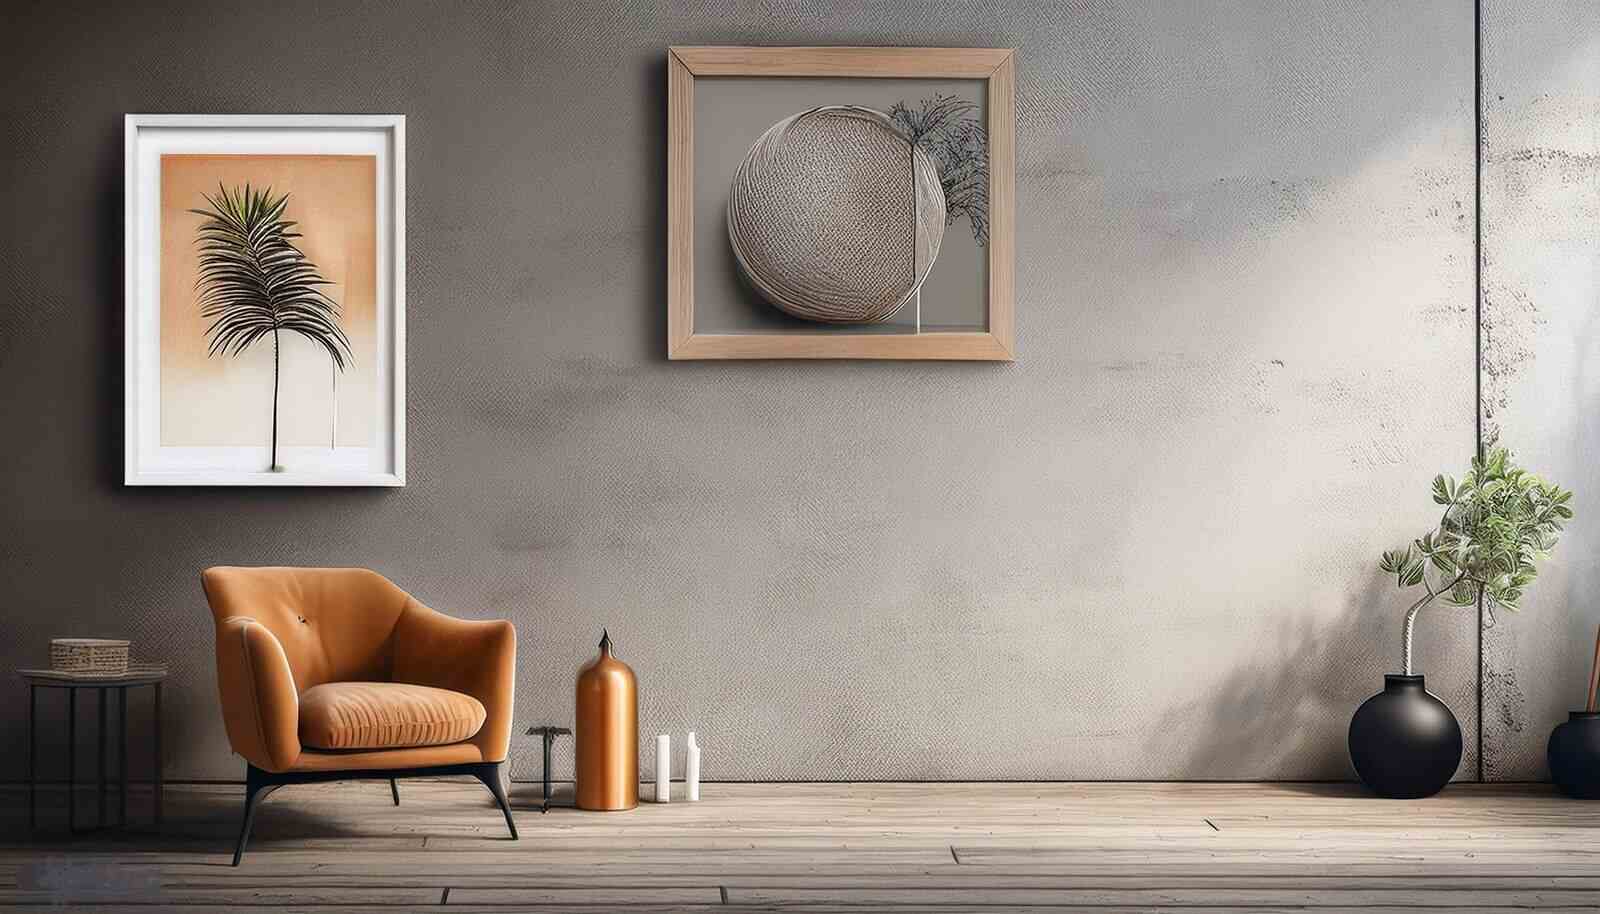
If you think about how to hang art on plaster walls? It can be tricky. These walls are different from modern drywall. They are made of wooden strips called lath covered with plaster. The plaster gives the walls a neat finish. Plaster walls are quite thick. This allows for curves and arches to be made easily. But plaster is also quite fragile. It can crack or crumble if you hammer nails into it. So you need to be careful for when hanging art on plaster walls. This guide shows you the best way to hang pictures without damaging the walls. You’ll learn what tools to use and special tips to protect your walls.
Putting up photos on plaster walls or choosing how to hang art on plaster walls then needs to know about the weight of the wall art and the wall’s strength. Checking the wall and art weight with a scale, picking the right tools, finding studs, and choosing anchors for different situations are activities you will learn in this article. Through step-by-step guides for light and heavy items, we’ll give expert tips on the best way to hang pictures in plaster walls, ensuring your plaster walls and art stay in one piece and look great.
Assessing Your Wall and Art Weight
Understanding Wall and Art Weight for Plaster Walls
1. Evaluate Art Weight
- Light Art (Under 5 Pounds): Use adhesive hooks or Velcro strips to hang light pieces on plaster walls
- Moderate Art (5 to 10 Pounds): For artwork within this weight range, nail or hook driven at a downward angle will be suitable
- Heavy Art (Over 10 Pounds): Art pieces exceeding 10 pounds should be anchored using screws so that stability and support are ensured
2. Characteristics of Plaster Walls
- Composition: Plaster walls are made up of wood strips called laths attached to wall studs and covered with plaster making them thicker than drywall hence capable of better sound-proofing
- Brittleness: Plaster walls despite being thicker than drywall are more brittle thus tend to crack and break easily
- Labor Intensity: The brittleness and thickness characteristic of plaster walls make them more laborious to work on compared to other types of walls
3. Load Bearing Capacity of Plaster Walls
- General Load Capacity: A plaster wall can carry different loads. The amount of weight depends on the type of load. It also depends on how the wall is built.
- Specific Load Information:
- A 12 inch by 12 inch section of 1/2 inch drywall can hold 40 pounds. This is when the load is pulling away from the ceiling.
- The load capacity is much higher for downward pulling or shear loads. However, the exact value differs.
4. Best Practices for Heavy Art
- Finding Wall Studs: For heavy pictures, it’s better to hang them on wall studs. Studs provide the strongest support in walls.
RehumanizeBy carefully checking the weight of the art piece. And by understanding plaster walls. One can choose the right hanging art on plaster walls method. This avoids damage and ensures a secure installation.
Choosing the Right Tools
Essential Tools and Supplies
Putting up art on plaster walls requires proper tools. You’ll need:
- Drill and Drill Bits:
- These help make holes for anchors or screws so the plaster doesn’t crack. Use an adjustable speed drill for different wall densities.
- Tape Measure and Pencil:
- To mark where to drill or hammer precisely. This keeps wall arrangements looking neat.
- Stud Finder:
- A magnetic stud finder like the Homder Digital model locates studs in plaster walls. This securely hangs heavier items.
- Screwdriver:
- Drives screws through anchors or into studs directly.
- Wall Anchors and Screws:
- When you need to hang things on the wall, you have some choices. You can use snap toggle bolts, winged plastic anchors, or self-drilling metal anchors. The option you pick depends on how heavy the art is and what kind of wall you have.
- Level:
- It’s a good idea to use a level when hanging art on plaster walls. This helps make sure your art hangs straight.
- Painters Tape:
- Put some painter’s tape on the wall before drilling holes. This can stop the wall from cracking.
Recommended Hanging Art on Plaster Walls Methods
Different hanging art on plaster walls methods work best for different sizes and weights of art:
- Adhesive Hangers:
- Lightweight things like foam art or small canvases work well with Command strips. But make sure the paint on the wall is sticking well before using them.
- Brass Hooks:
- For heavier picture frames up to 20 pounds, plastic anchors are often used. Using a screw instead of a nail helps avoid damaging the wall.
- Gallery Systems:
- These systems make art look nicer. They have a rail at the top of the wall. Pictures hang from cables or rods. They can hold up to 300 pounds. You can easily move art without making new holes.
- Molly Bolts and Toggle Bolts:
- These work well for heavy pictures. They go into the wall and spread out behind it. This spreads the weight more evenly. You must drill holes first to install them right.
Special Considerations
- Pre-Drilling:
- Always drill holes first. This stops the plaster from cracking. This is important for heavy things.
- Avoiding Masonry Nails:
- Do not use masonry nails. They can damage plaster walls badly.
- Using a Mini Level and Museum Putty:
- Use these tools. They make sure art is level and secure. This stops art from moving over time.
Putting up art pieces on plaster walls? No sweat! Just get the right equipment and follow the proper ways. That way, your art stays secure without harming the walls, looking neat and tidy.
Locating Studs in Plaster Walls
The key to hanging art on plaster walls safely? Find the wall studs – those strong wood beams add stability. Here’s how to spot studs easily in plaster walls:
Step-by-Step Guide to Locating Studs
- Using a Magnetic Stud Finder:
- First, use a magnetic stud finder to detect the nails holding the wooden lath to the studs.
- Slowly move the stud finder across the wall. Mark each spot where it senses a stud with a pencil.
- Measuring from a Fixed Point:
- Start at an interior window or corner. Measure 16 inches out – that’s a common distance between studs in many homes.
- Remember that older homes might not follow standard rules. You may need to make changes.
- Alternative Methods for Stud Detection:
- Electrical Box Way: Look around electrical boxes (outlets or switches). These are usually attached to one side of a stud. Remove the cover and check if one side is attached to a stud.
- Knock on the Wall: Tap on the wall and listen for sound changes. A hollow sound usually means no stud. A more solid sound suggests a stud is there.
- Use a Strong Magnet: A strong magnet can find the nails or screws in the stud. Move the magnet along the wall. Watch for places where it sticks.
- Metal Detector: A small metal detector is a useful tool. It can help find the nails that hold wood strips (laths) to the wall studs. But be careful, other metal things in the walls can confuse the detector.
Tools and Tips for Effective Stud Location
- Recommended Tools:
- Magnetic stud finder
- Tape measure
- Pencil for marking
- Small handheld metal detector (optional)
- Tips:
- Check stud spots in more than one way if you can.
- If walls have metal laths, regular stud finders may not work well. Use a deep scan stud finder instead.
- Take your time and check carefully. This prevents mistakes and damage to the walls.
Follow these steps and tips to find wall studs behind plaster. It will help you hang art safely and securely.
Types of Anchors and When to Use Them
Overview of Anchor Types for Plaster Walls
Selecting the right type of anchor for hanging art on plaster walls is crucial to ensure stability and prevent damage. Here are the most commonly recommended anchors:
- Molly Bolts:
- To learn how to hang art on plaster walls efficiently, one can use the molly bolts which are metal sleeves inserted into a pre-drilled hole in the plaster. The bolts will then be extended to allow for a really strong support, thus, they are most commonly applied for hanging medium to heavy items. Besides, they have to align themselves with the weight of the hung object to get the best performance.
- Toggle Bolts:
- One of the practices art hangers use in this situation is the use of molly sleeves which are metal sleeves that can get into a pre-drilled hole on the plaster to learn how to hang heavy art on plaster wall. The bolts will then grow larger to provide reliable support making them perfect for hanging medium to heavy items. They are to be equal to the weight of the freely suspended object for the best operation.
- Plastic Wall Anchors:
- These anchors if utilized need to be made of a strong type of plastic material and they should be securely put into a hole that is already bored. The screw is then inserted and twisted, the expansion of the elements thus ensures the plaster is firmly attached demonstrating the technique of how to hang art on plaster walls. These anchors are designed for light items, but nevertheless, they can still lift a limited weight.
- Self-Drilling Anchors:
- When using such anchors, it’s better for you not to pre-drill them when attaching them to plaster surfaces. This is because they are metal and provide great strength due to their composition. So it is quite appropriate for hanging photos on plaster walls or for items of medium weight.
Appropriate Usage of Each Anchor Type
- Molly Bolts:
- The best choice is for items from 25 to 50 pounds. Make sure the bolt is long enough. It must go through the plaster and lath. This provides a secure hold.
- Toggle Bolts:
- Ideal for heavy duty projects with ability to hold up weights of at least 238 lbs, such would work best for very heavy or large artworks as well as mirrors.
- Plastic Wall Anchors:
- Suitable for light objects like small frames, decorative plates, or light mirrors. Inspect the plaster before installing. It must not be too brittle or damaged. This maintains the hold strength.
- Self-Drilling Anchors:
- These are good for hanging medium things quickly. Like medium frames or small shelves. Easy installation makes them popular for DIY projects.
Special Considerations
- Avoid Expansion Anchors:
- Avoid expansion anchors for plaster walls. They may cause cracking when installing. They don’t provide a reliable hold for heavy things.
- Winged Plastic Anchors:
- These anchors are simple to set up. They can hold a lot of weight. They work well for hanging many items.
Installation Tips
- First, drill a hole the same size as the anchor. This stops the plaster from breaking.
- For heavy items, try to find a stud in the wall. Use it, even with strong anchors like toggle bolts. It gives extra support.
- Use a level and tape measure. This will help hang art evenly at the right height.
Knowing anchors tells you how to hang art on plaster walls safely. Regardless of whether you’re using light decor or heavy art, you will need to use the right anchor to make it look great and avoid any damage.
Prepping the Wall
Essential Steps for Preparing Plaster Walls
Step 1: Assess and Clean the Wall Surface
- Get rid of any dirt or mess on the plaster wall before you start working. Simply wipe it with a slightly wet cloth to clean the surface.
Step 2: Mark the Drilling Points
- Use a pencil to mark an ‘X’ on the spots where you want to hang your artwork. These marks show where the screws or nails will go.
Step 3: Apply Painter’s Tape
- Put a strip of painter’s tape over the marked spots. This tape protects the wall. It helps stop the plaster from cracking when you drill or hammer.
Step 4: Pre-drill Holes
- Choose the right drill bit for the screws and anchors you have. Attach this drill bit to your drill.
- Make holes in the wall where you marked. Drill until the bit goes all the way in. Make sure the hole is the same size as the bit.
Step 5: Install Anchors
- If using anchors for heavy art, gently hammer the anchor into the hole you drilled.
- For extra safety and to keep moisture out, put a dab of caulk over the hole before putting in the screw or hook.
Step 6: Clean Up
- After drilling, fold up the painter’s tape you used to catch dust. Throw away the tape and dust to keep the area clean.
Step 7: Optional Wall Preparation
- To make it look fresh or cover stains, think about painting before hanging art on plaster walls. Let the paint dry fully like the instructions say.
Tools and Materials Checklist
| Tool/Material | Purpose |
| Painter’s Tape | Protects wall surface and collects dust |
| Pencil | For marking drill points |
| Drill and Drill Bits | For pre-drilling holes |
| Hammer | For inserting anchors |
| Anchors and Screws | For securing heavy items on the wall |
| Caulking | Seals the hole, preventing moisture intrusion |
| Clean Cloth | For cleaning the wall surface |
Hanging art on plaster walls requires proper steps. By following this guide, your art pieces will look great and stay secure.
how to hang Light art on plaster walls: Step-by-Step
Step 1: Choose the Right Picture Hanger
In the case of small pieces of art that do not weigh more than 5 pounds one can use adhesive hooks or Velcro strips to learn how to hang art on plaster walls. The alternatives do not require any sort of glue that would damage the plaster and moreover they are easy to install.
Step 2: Prepare the Wall Surface
First, wipe the area clean with a dry cloth. This removes dust and dirt. The hooks or strips will stick better to a clean surface.
Step 3: Mark the Placement
Next, lightly mark the spot with a pencil. This helps you put the art in the right place.
Step 4: Attach the Hanger
- For Adhesive Hooks: To hang art using adhesive hooks, peel off the paper backing. Press the hook firmly against the wall for 30 seconds. This helps the hook stick properly.
- For Velcro Strips: For velcro strips, attach one side to the art frame. Attach the other side to the wall. Press both sides firmly to secure them.
Step 5: Hang the Art
Be sure to choose the best practices for how to hang art on plaster walls. Such as carefully hooking the artwork to the installed hook or using the Velcro strips. It’s important to let go of it only after first assuring it is fastened.
Step 6: Ensure Level and Adjust
Use a level to check if the artwork is hanging straight. Adjust as needed to align it perfectly.
Tools and Materials Checklist
| Tool/Material | Purpose |
| Adhesive Hooks or Velcro Strips | For hanging light art securely without damage |
| Pencil | For marking the placement on the wall |
| Level | To ensure the artwork is hung straight |
| Clean Cloth | For cleaning the wall surface |
These steps along with using the recommended tools will reveal to you how to hang art on plaster walls very easily, enabling you to hang light art without any damage.
how to hang heavy art on plaster wall: Step-by-Step
Step 1: Select the Appropriate Anchor
Hanging art on plaster walls be it heavy or light requires the right tools, and when you are learning how to hang art on plaster walls, nothing can be more helpful than a wall hanging tool. There are brass hooks that are capable of carrying weights of 30, 50, and even 100 pounds depending on the type of hook; on the other hand, toggle bolts are appropriate for heavy pieces since they can hold a lot of weight. As the best way to hang pictures in plaster walls, wall strips are also a great choice, as they provide longitudinal support to the wall with a strong adhesive.
Step 2: Pre-drill Holes
Pre-drilling helps stop cracks in the wall. Use a drill to make holes for the anchors you choose. For toggle bolts, drill a hole big enough for the toggle part. For molly bolts, drill a smaller hole first.
Step 3: Install the Anchor
- Toggle Bolts: Put the toggle through the hole you drilled. Then tighten the screw to secure it.
- Molly Bolts: Insert the molly bolt into the hole. Push the claws into the wall. Tighten the screw to hold it in place.
- Brass Hooks: If you use brass hooks, screw them right into the holes that were made before.
Step 4: Prepare the Hanging Hardware
If you need to rearrange art pieces or change them a lot, consider installing a gallery system. Gallery systems with brass tubes and cables for illustration are an ideal option for mastering the skill of how to hang art on plaster walls. They appear beautiful, allow you to easily change things, and are strong enough to support 300 pounds without leaving any marks on the walls!
Step 5: Hang the Artwork
Hang up your artwork carefully on the hardware you installed. Make sure the piece is secure and level. Use a level tool to check that it’s straight.
Step 6: Final Checks
Once you have it set up, do a second check to confirm that the hanging art on plaster walls system is stable and safe, particularly if it is a priceless artwork. The anchors you used should be confirmed by evaluating them to ensure you are able to support the best way to hang pictures in plaster walls. Change them where necessary so that nothing is loose, and everything stays intact.
Additional Tips
- If you need to hang really heavy stuff like big mirrors or kitchen cupboards, think about building a 2×4 wooden brace into the plaster wall first. This gives extra strength.
- If you plan to move art around a lot, install a picture rail system during construction. That way, you won’t need to keep making new holes in the plaster.
These hints and the right tool set will help you reach safely the heaviest industrial artwork on plaster walls. But learning how to hang art on plaster walls improves your home giving it a fresh look and rounds out the structure by making it stronger.
Expert Tips for Avoiding Common Mistakes
Consider Alternative Hanging Methods
- Utilize Ceiling or Rail Systems:
- In the case of plaster walls which are old or weak, hanging art on plaster walls from the ceiling using a cord is a better option. This tactic is to prevent the walls from getting damaged and thus help the walls to last longer.
- Look for existing picture rail molding, common in homes from the 1920s. This allows hanging art on plaster walls without impacting the wall surface.
Proper Installation Techniques
- Angle and Depth for Nails or Screws:
- Make sure any screw or nail is hammered at a 45-degree angle. It should go in at least 1 inch deep into the wall for a secure hold.
- Drill a hole in the plaster veneer first, using the same thickness as the nail or screw. If needed, switch to a masonry bit to drill into concrete.
- Use of Wood Backing:
- Install wood backing in the wall, and finish with trim over it. This allows a picture rail system, making it easy to reposition art without damaging walls.
Choosing the Right Fixings
- Avoid Over-reliance on Nails:
- Lightweight things can go on nails in the wall, but heavy stuff might not stay up. The plaster could crack.
- Opt for Structural Support:
- The best way is to put screws into the wooden studs behind the wall. This makes things really secure. Don’t use crappy hardware though, it’s not reliable.
Artwork Placement and Presentation
- Strategic Artwork Placement:
- Don’t hang pictures way up high or far apart. It looks off-balance and weird.
- Place the artwork in the vicinity of the furniture, at a distance of 8 to 12 inches above it. This way of hanging art on plaster walls connects with the space and makes it warmer and more welcoming.
.
- Create Visually Appealing Groups:
- One tiny picture on a huge wall looks silly. Group your art together or use a grid pattern instead. Way more interesting!
- If you’re doing a grid, leave a little space between each frame – like 2.5 to 4 inches. This spacing ties everything together nicely.
Incorporate Diverse Decorative Elements
- Expand Beyond Traditional Art:
- Add decorative things like plates, mirrors, clocks, or old building parts. This adds variety and depth to your display.
Installation Precautions
- Careful Use of Anchors:
- Be careful not to make the hole too big when using anchors. This can make them less effective.
- Precise Hanger Placement:
- Make sure the hangers are spaced the right way. This keeps the art at the right height and in line.
- Adjustability of Hanging Wire:
- Make the wire on the art adjustable. This allows easy tweaking after hanging art on plaster walls.
These tips ensure that you will not make mistakes and find best way to hang pictures in plaster walls so that the art looks good and is safe.
Conclusion: how to hang art on plaster walls
This guide showed how to hang art on plaster walls. The importance of proper instruments and grasping the special qualities of plaster were revealed. A possible interpretation of the image shown is that a person can help ensure the safety and proper display of valuable objects by following the described methods step by step. This is especially true when considering how to hang art on plaster walls. Through the discussion of the types of anchors and the importance of locating studs in a wall, it has become clear that the preservation of the integrity of gypsum panel partitions is the top priority. However, there is also a willingness to accept the beauty that comes with placing artworks in our spaces.
Finally, hanging art on plaster walls is more than just decoration; it is a deliberate process that blends the appreciation of historical construction with individual home décor. With the expert suggestions and tactical methods, newcomers, as well as do-it-yourself fans, can avoid common mistakes and achieve artistic and risk-free art exhibition. If you aim to display a gallery wall in an ancient home or simply a single painting, these tips on how to hang art on plaster walls provide you with the necessary information to increase your living space style and elegance

Leave a Reply